STL Cookie Cutter Design Guide
How to check cutter previews, cookie previews, sizing, and slicer setup before printing a cookie cutter STL.
Start with a clean design
A good cookie cutter STL starts before the slicer. The source image, photo, logo, or text design should have a clear subject, readable edges, and details that make sense at the final cookie size.
If the artwork is noisy or packed with tiny lines, simplify it before export. A clean design usually prints better, cuts dough more clearly, and leaves a more readable cookie.
Check both previews
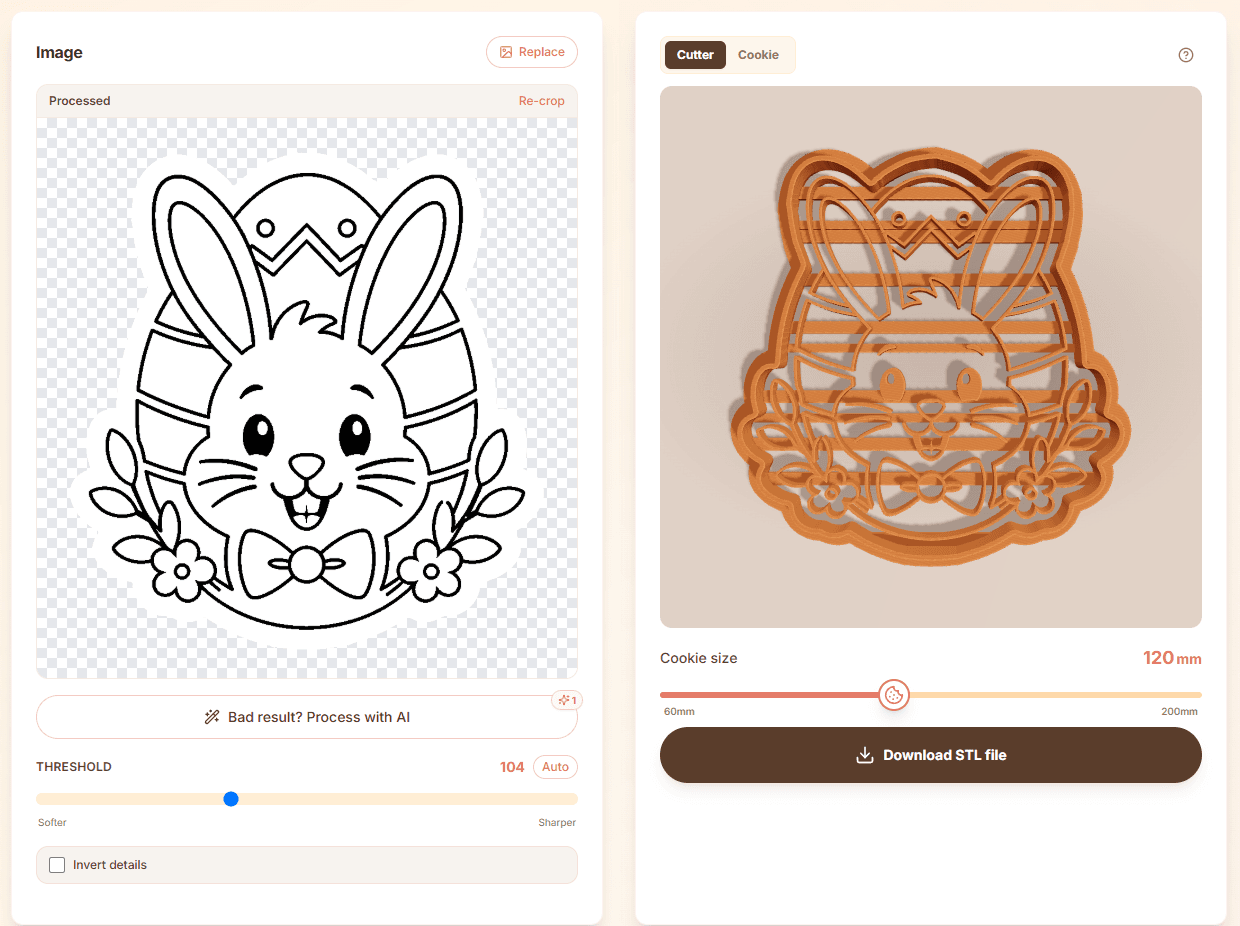
Use the cutter preview to inspect the physical tool: the outside wall, internal stamp details, spacing, and whether the design looks too crowded. This is the view that tells you whether the STL is likely to print and handle well.
Use the cookie preview to judge the baked result. A design can look interesting as a cutter but become confusing on a cookie if the details are too small, too dense, or too close together.
- Use cutter preview for walls, stamp details, spacing, and printability.
- Use cookie preview for the final cookie shape and readability.
- Use invert details when stamp marks need the opposite direction.
- Simplify the source if either preview feels too busy.
Size for the detail
Sizing is one of the biggest decisions for STL cookie cutters. Small details need room. If a design has whiskers, lettering, facial features, fur markings, small flowers, or thin decorative lines, a larger cookie often makes the difference between recognizable and messy.
Use the size control before export instead of relying only on slicer scaling. If the cookie preview loses important details at 70 mm, try 100 mm or 120 mm. If the design still feels crowded, remove detail rather than forcing it into a small cutter.
- Use larger cookies for detailed photos, logos, and illustrated artwork.
- Keep simple shapes smaller and complex designs larger.
- Check whether small stamp lines still read in the cookie preview.
- Remove details that are too tiny to print or clean safely.
Check your slicer
After downloading the STL, always open it in your own slicer before printing. The slicer is where you confirm printer-specific settings such as layer height, perimeters, material profile, bed adhesion, travel moves, and first-layer behavior.
Do not skip this step before selling, gifting, or printing a full batch. A quick slicer preview helps catch missing thin parts, weak details, bad adhesion choices, or settings that are wrong for your printer and filament.
Ready to build it in CutterForge?
Preview the cutter, check the cookie view, choose the right size, and download the STL.