Image to Cookie Cutter Guide: From Artwork to Printable STL
How to choose artwork that converts cleanly into a cookie cutter, from line art and sticker art to bold icons.
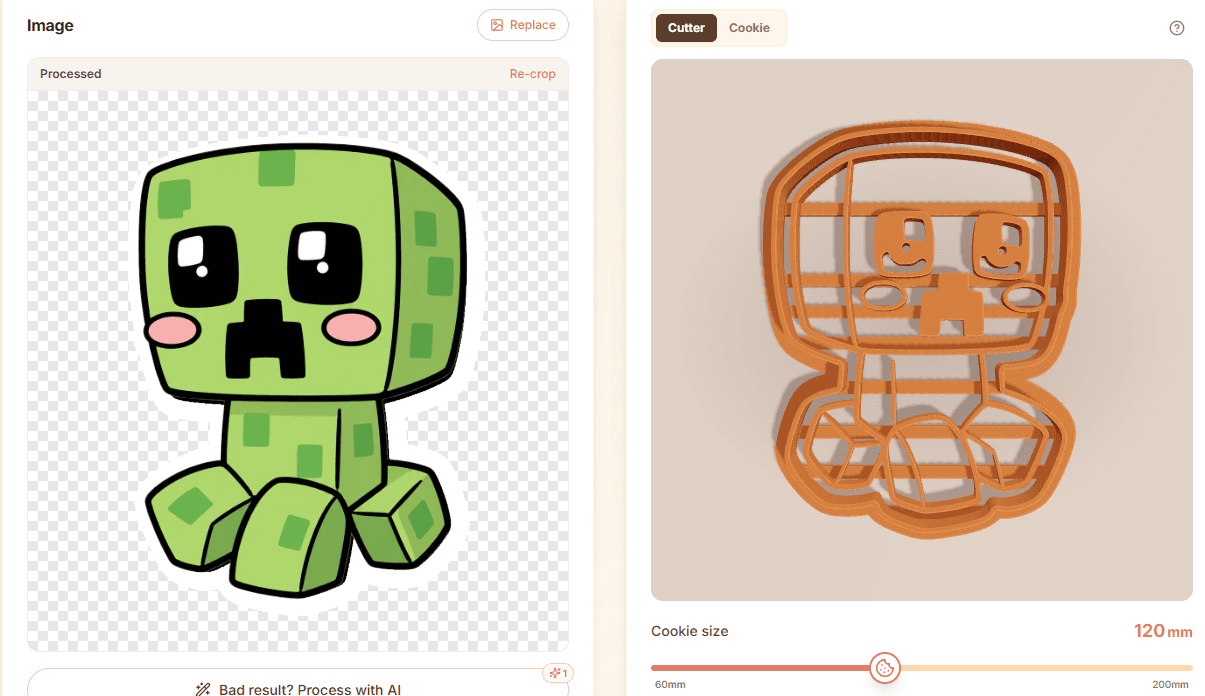
Use clean artwork
The best image-to-cookie-cutter results usually start with artwork that already looks like it could become a physical shape. Line art, sticker art, coloring-page drawings, bold icons, simple mascots, and clean clipart usually work better than full scenes or detailed photos.
Look for one clear subject with a readable outside edge and enough contrast between the artwork and the background. If the artwork still makes sense when viewed small, it is more likely to make a readable cutter and cookie.
- Use line-art, sticker-art, bold icons, simple SVGs, and coloring-page style drawings.
- Choose artwork with a clear outside outline.
- Crop tightly around the subject before uploading.
- Remove background patterns, shadows, gradients, and watermark text.
Avoid broken shapes
A cookie cutter should be based on one design at a time. Uploading a collage, pattern sheet, scene, or several separate objects can create a confusing cutter with disconnected pieces or details that do not belong together.
Gaps in the outline can also cause problems. If the edge of the artwork is open, broken, or hidden by a shadow, the cutter may not read as one clean shape. Use artwork with connected outer lines whenever possible.
- Use one cutter design at a time.
- Avoid multiple subjects, collages, sticker sheets, and full scenes.
- Avoid gaps or broken lines in the main outside edge.
- Simplify tiny background details before exporting.
Let AI optimize it
If the artwork is more complex, use CutterForge's AI feature to optimize it before judging the cutter. This helps clean up fuzzy edges, remove noise, simplify detail, and make the design more suitable for a cookie cutter.
After optimization, check the cutter preview and cookie preview. The cutter preview should show a clear physical tool, and the cookie preview should still look readable at the size you plan to print. If it feels too crowded, use a simpler image or make the cookie larger.
- Use AI optimize for fuzzy, detailed, or low-contrast artwork.
- Use the cutter preview to inspect walls and stamp details.
- Use the cookie preview to judge the final cookie readability.
- Increase cookie size when small details need more room.
Ready to build it in CutterForge?
Upload one clear artwork file, optimize it if needed, preview the cutter, and export the STL.