Turn a clean image into a printable cookie cutter
Use CutterForge when you already have artwork and want to convert it into cutter geometry. Upload a high-contrast image, preview the outline, adjust the cutter size, and export an STL for your slicer.
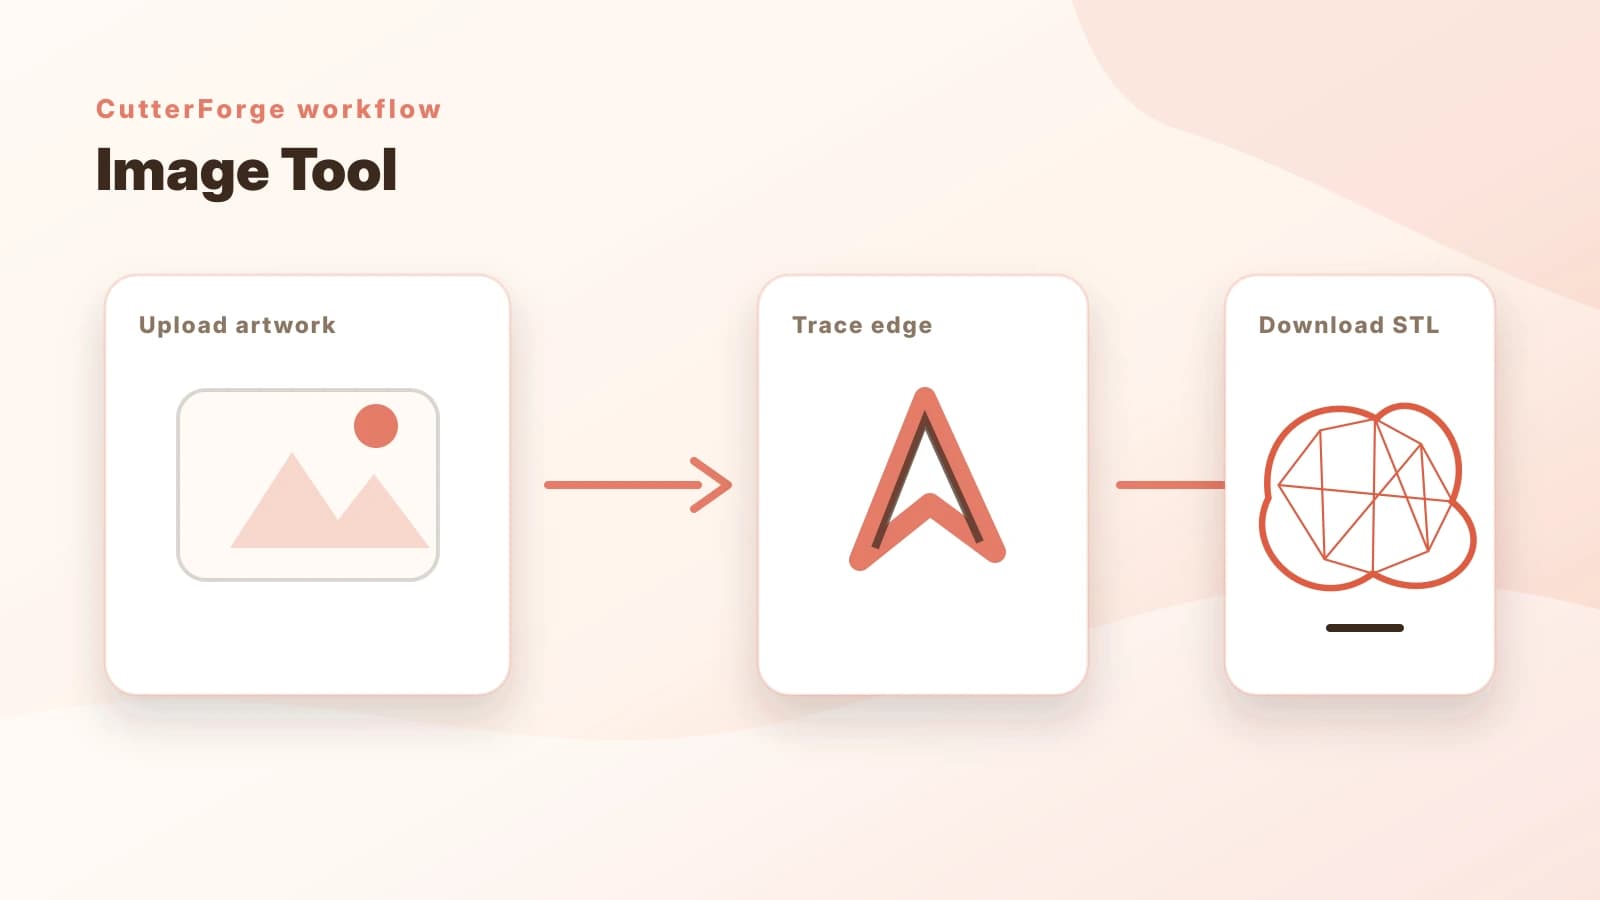
Built for the real path from idea to cookie cutter.
Image upload works well for icons, simple drawings, scanned sketches, and high-contrast artwork where the desired cutter outline is already visible.
The conversion step depends on edge clarity. Cropped artwork with a plain background usually produces stronger cutter walls than busy images.
Use the cutter preview and slicer check to catch tiny islands, weak details, or scale issues before spending filament.
Four steps, then a file you can print.
- 01
Upload a PNG or JPG with one clear subject.
- 02
Let CutterForge extract a cutter-friendly outline.
- 03
Review the preview and scale the cookie size.
- 04
Download the STL and inspect it in your slicer.
Useful for more than one shape.
What this workflow produces
Example input
A black icon of a star, heart, mascot head, or simple outline on a light background.
Example output
An STL cutter that follows the image silhouette with printable walls and simplified internal details.
Export details before you print
Files you get
- STL cutter file
- Saved project thumbnail
- Editable project state
Inputs supported
- PNG
- JPG
- High-contrast line art
- Simple icons
- Clean drawings
Slicers and printers
STL exports can be prepared in Bambu Studio, PrusaSlicer, OrcaSlicer, Ultimaker Cura and similar slicers for printers such as Bambu Lab, Prusa, Creality, Anycubic, Elegoo.
Use 0.8-1.2 mm for most image-based cutters; increase for large shapes or fragile outlines.
Printing tips
- Crop tightly around the subject before uploading.
- Remove backgrounds and shadows for a cleaner outline.
- Check that all internal details are thick enough for your nozzle.
Limitations to know
- Low-resolution images can create rough outlines.
- Gradients, shadows, and textured backgrounds can confuse edge detection.
- Small isolated details may not become useful cutter geometry.
AI, image upload, or text mode?
Use AI when
Use AI if you need artwork generated from an idea first.
Use image upload when
Use image upload when you already have a clear icon, drawing, logo, or line-art source.
Use text mode when
Use the text tool when the design is mostly words and needs editable typography.
Avoid weak cutter files
Uploading screenshots with UI, background clutter, or shadows.
Using tiny web images that become jagged when enlarged.
Expecting every thin decorative line to print as a cutter detail.
Forgetting to review the STL in a slicer at final size.
Common questions
What images convert best to cookie cutters?
High-contrast PNG or JPG files with one clear subject, simple edges, and little background noise work best.
Can I convert a drawing to a cookie cutter?
Yes. Scan or photograph the drawing clearly, crop it, and keep the background simple before uploading.
Does image upload preserve every detail?
No. Cutter geometry needs durable walls, so very small or fragile details may be simplified or skipped.
Can I use a transparent PNG?
Yes. Transparent PNGs with a clean subject are often a good starting point.
Which output file do I download?
You download an STL file that can be opened in common slicers for 3D printing.
When should I use photo mode instead?
Use photo mode when your source is a real-world photo that needs subject cleanup before conversion.