Create 3D Printable Cookie Cutters from Images, Text, and AI
CutterForge is a cookie cutter generator for makers who want print-ready results without CAD. Start with an idea, upload artwork, clean up a photo, or type a phrase, then download an STL file for 3D printing.
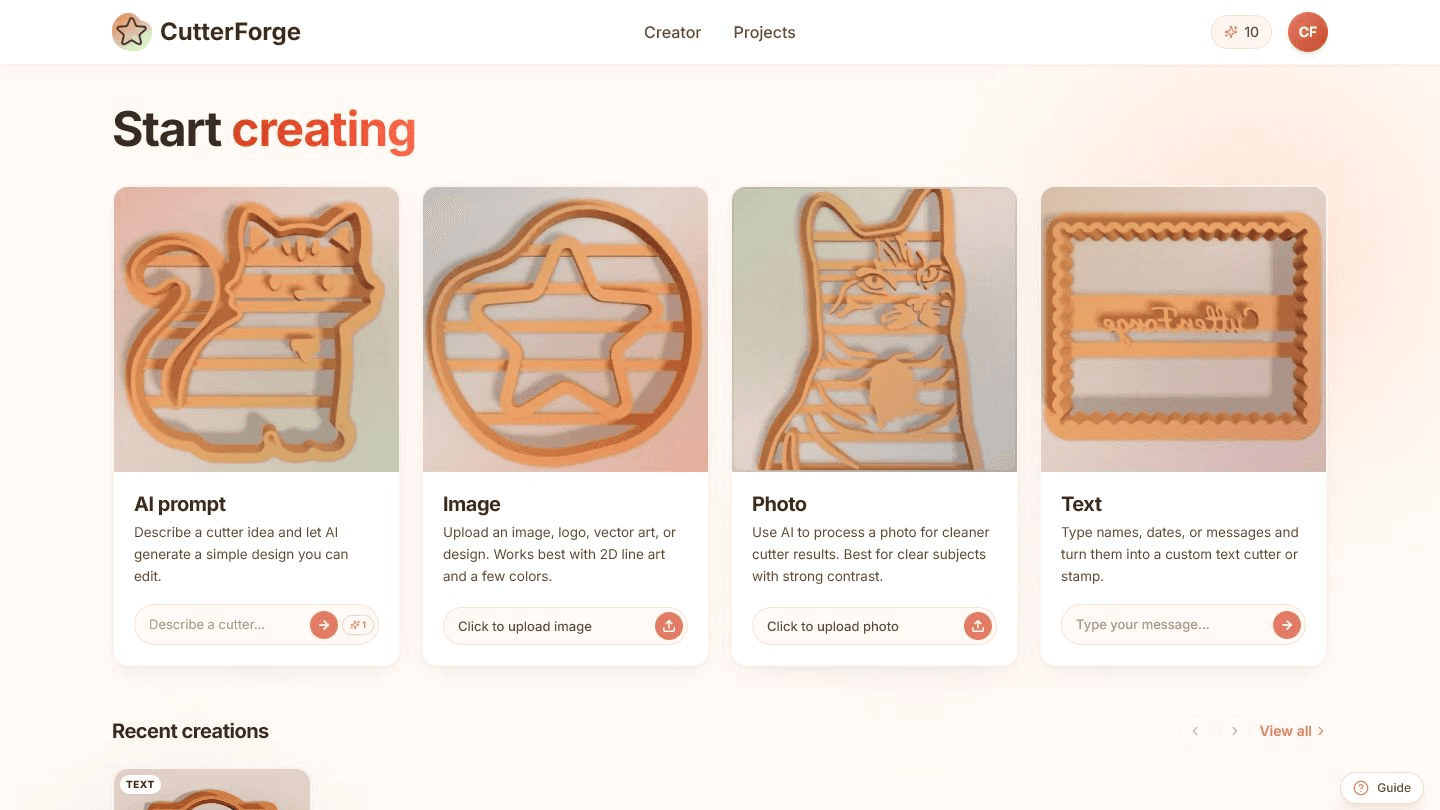
Built for the real path from idea to cookie cutter.
Use AI prompts for original designs, image upload for logos and line art, photo processing for real subjects, or text tools for names and messages.
Every workflow is aimed at clean outlines, usable wall thickness, and STL downloads that are ready for common slicers.
Create multiple variations for holidays, birthdays, markets, or client requests without rebuilding each cutter by hand.
Four steps, then a file you can print.
- 01
Choose AI, image, photo, or text as your starting point.
- 02
Preview the cutter shape and cookie-style result.
- 03
Adjust the size for your baking project.
- 04
Download a print-ready STL file for your slicer.
Useful for more than one shape.
What this workflow produces
Example input
A simple logo, product photo, AI prompt, or short text phrase such as "Mila 5".
Example output
A single printable STL cutter with an outer cutting wall and cutter-friendly internal details where the source artwork supports them.
Export details before you print
Files you get
- STL file for the generated cutter
- Saved project thumbnail for your dashboard
- Editable project state for returning to the design later
Inputs supported
- Images and line art
- Photos
- Logos
- Text and names
- AI prompts
Slicers and printers
STL exports can be prepared in Bambu Studio, PrusaSlicer, OrcaSlicer, Ultimaker Cura and similar slicers for printers such as Bambu Lab, Prusa, Creality, Anycubic, Elegoo.
Start around 0.8-1.2 mm for a cutter wall, then adjust for your nozzle, filament, and cutter size.
Printing tips
- Print in food-safe filament only if your full workflow is food-safe.
- Use enough perimeters for a rigid wall instead of relying on sparse infill.
- Keep very small internal islands simple so dough releases cleanly.
Limitations to know
- Crowded photos and low-contrast artwork usually need cleanup before conversion.
- Very thin lines can become fragile or disappear during slicing.
- A generated STL still needs normal slicer review before printing.
AI, image upload, or text mode?
Use AI when
Use AI when you only have an idea and need original artwork before making a cutter.
Use image upload when
Use image upload when you already have a logo, SVG-style artwork, icon, drawing, or clean black-and-white source.
Use text mode when
Use the text tool when the cutter is mainly a name, age, label, short message, or typography layout.
Avoid weak cutter files
Uploading a busy full-scene photo instead of cropping to one subject.
Choosing artwork with disconnected tiny pieces that cannot form durable cutter details.
Skipping slicer preview before sending the STL to a printer.
Scaling a detailed cutter too small for the nozzle and filament.
Common questions
What can I use as input?
You can use an AI prompt, upload an image or logo, process a photo, or create a text cutter directly in the browser.
Do I need CAD experience?
No. CutterForge handles the cutter generation flow and gives you an STL file you can use in your slicer.
Can I download an STL file?
Yes. Finished cutter designs include an STL download button for 3D printing.
Which file do I get from the cookie cutter generator?
The main export is an STL file for your slicer. Your project can also keep a thumbnail and editable state in CutterForge.
Which slicers work with the STL output?
The STL can be opened in common slicers such as Bambu Studio, PrusaSlicer, OrcaSlicer, and Cura.
What wall thickness should I use?
A practical starting point is about 0.8-1.2 mm for the cutting wall. Increase it for large cutters, flexible filament, or rough handling.
When should I use AI instead of uploading an image?
Use AI when you do not already have artwork. If you have a clean logo, SVG-style icon, or high-contrast drawing, image upload is usually more direct.
Can I use photos?
Yes, but photos work best when the subject has clear edges, good contrast, and a simple background.
Do I still need to check the slicer preview?
Yes. Always inspect wall continuity, scale, first layer, and tiny details in your slicer before printing.