Best Printing Settings for 3D Printed Cookie Cutters
Practical slicer settings and handling tips for cleaner 3D printed cookie cutters after exporting your STL from CutterForge.
Start with a clean STL
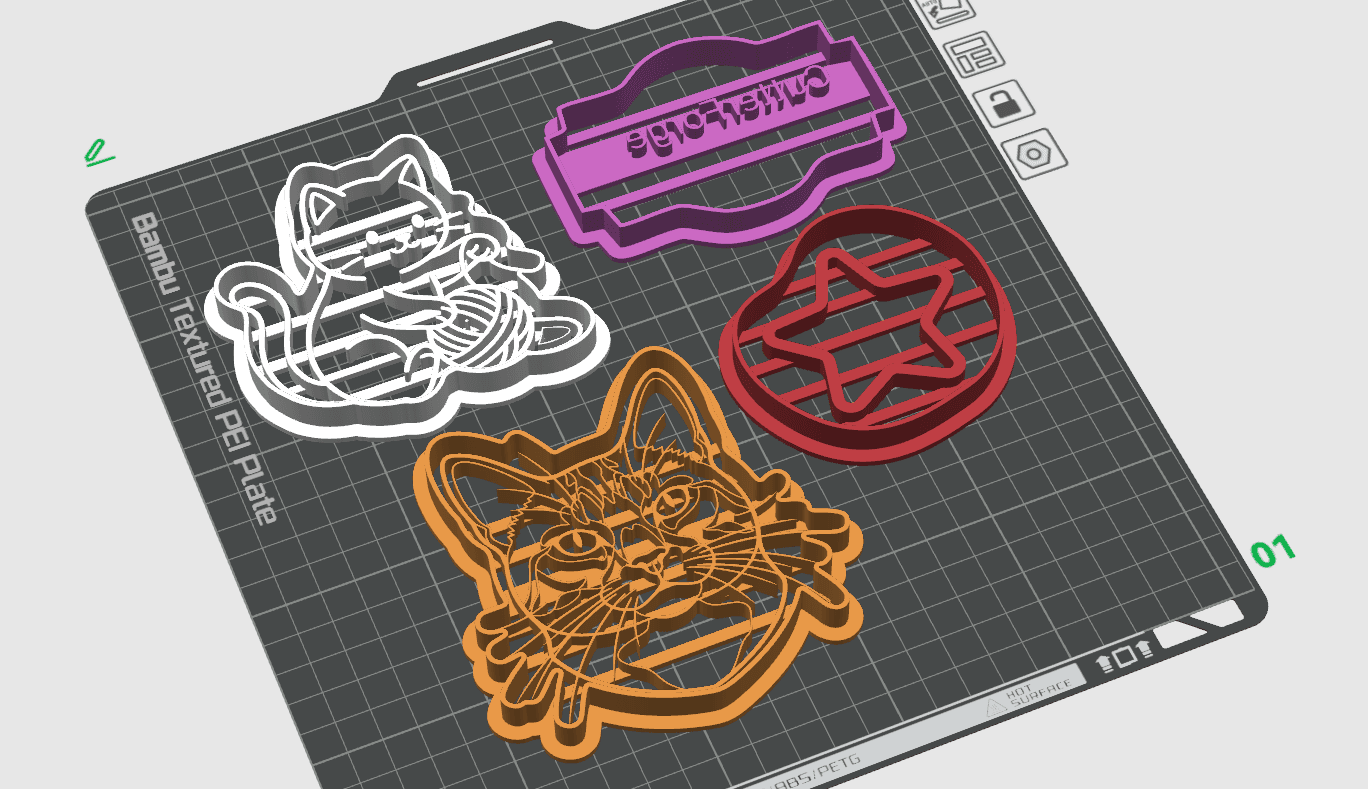
CutterForge handles the cutter geometry, so your slicer work should be simple: open the STL, confirm the design is lying flat, choose a clean profile, and print without adding unnecessary structure around it.
Cookie cutters usually print best as a straightforward upright object. You should not need supports for a normal CutterForge cutter, because supports can leave rough marks on small edges and make cleanup harder.
- Place the STL flat on the build plate.
- Use no supports for typical cutter exports.
- Use a brim only if your printer struggles with bed adhesion.
- Preview the first layer before starting the print.
Use a finer layer height
For final cookie cutters, a lower layer height usually gives cleaner top edges and better detail than a rough draft profile. A common starting point is around 0.12 mm to 0.16 mm for a detail print, then adjust based on your nozzle, printer, and filament.
Draft settings are fine when you are testing size or overall shape. For a cutter you plan to use, slow down enough that small curves, lettering, stamp lines, and thin details print cleanly.
- Use a low layer height for final designs.
- Use a draft profile only for quick size tests.
- Keep speeds moderate if the cutter has small text or stamp detail.
- Check slicer preview for gaps, missing thin parts, or messy travel moves.
Remove it carefully
Small cutter details can be fragile right after printing, especially if the design has text, whiskers, thin decorative lines, or narrow stamp features. Let the bed cool and remove the print gently instead of bending the cutter off the plate.
Before the cutter touches dough, inspect it for loose strings, cracked details, sharp fragments, or tiny pieces that might break off. If a small plastic detail looks fragile, remove or trim it before using the cutter so it cannot end up in the dough.
- Let the build plate cool before removing detailed cutters.
- Use a scraper carefully and avoid bending thin details.
- Trim stringing or loose plastic before washing or using the cutter.
- Remove fragile plastic details instead of pressing them into dough.
Ready to build it in CutterForge?
Create the cutter in CutterForge, download the STL, then use these slicer checks before printing.