The Ultimate No-Spread Sugar Cookie Recipe
A cutter-friendly dough that holds custom 3D printed shapes with sharp edges, flat tops, and minimal spread.
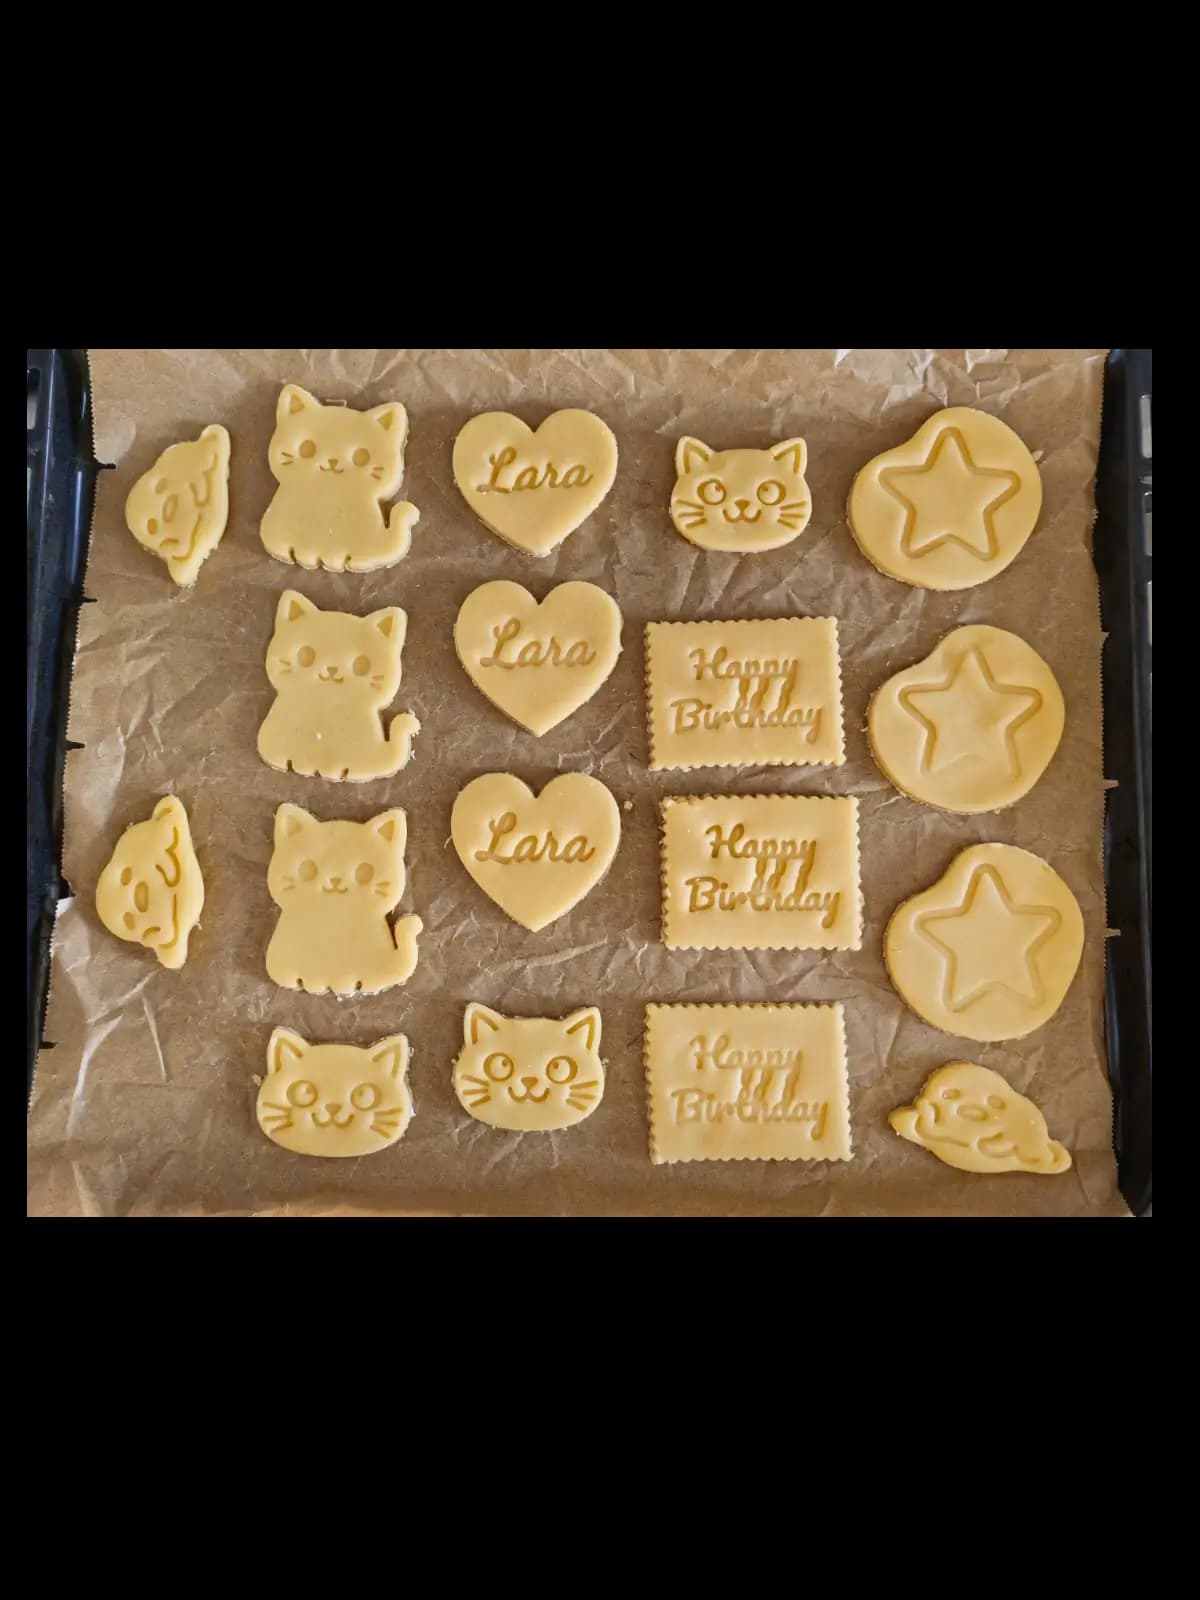
If you have ever spent time designing a custom 3D printed cutter, only to have the cookies bake into soft blobs, this recipe is the missing half of the workflow.
The dough skips the usual puff-and-spread behavior from standard sugar cookies. It gives custom cutter outlines and stamp details a flatter, more stable surface for decorating.
Recipe Overview
Ingredients
- 200g Unsalted butter, room temperature
- 150g Caster sugar or superfine sugar
- 1 Large egg
- 1 tsp Vanilla bean paste
- 400g All-purpose flour
- 1/4 tsp Fine salt
Baking Instructions
Cream butter and sugar
Beat the butter and sugar on medium speed just until combined and smooth. Do not over-cream; extra air can create lift and spread.
Add wet ingredients
Add the egg and vanilla bean paste. Mix on low speed until incorporated, then scrape down the bowl so no butter streaks remain.
Incorporate dry ingredients
Add flour and salt. Mix on the lowest speed just until the dough pulls away from the bowl and forms a clump.
Chill the dough
Wrap the dough and refrigerate it for at least one hour. Firm dough holds custom cutter details far better during baking.
Roll and cut
Roll to about 5mm thick. Dip your 3D printed cutter in flour before each cut, press firmly, then lift cleanly.
Bake to matte edges
Bake at 175C / 350F for 10-12 minutes. The surface should look matte with only a slight golden tint at the base.
Ready to make a matching cutter?
Turn an image, logo, photo, or text idea into a printable STL in CutterForge.