How to Make a Cookie Cutter from a Photo
Turn a favorite photo into a personal cookie cutter for pets, birthdays, weddings, family memories, and meaningful gifts.
Turn photos into gifts
Photo cookie cutters are personal in a way generic shapes are not. They can turn a pet portrait into birthday cookies, a wedding picture into favors, a family memory into a holiday bake, or a friend's recognizable look into a gift that feels made for them.
The best photo is not always the most polished photo. It is the one with a clear subject and features people will recognize after the image is simplified into a cookie cutter design.
- Use pet photos for birthdays, memorial gifts, adoption parties, or custom bakery orders.
- Use family and friend photos for weddings, anniversaries, holidays, and inside-joke gifts.
- Look for recognizable details like a cat's fur pattern, tattoos, glasses, hair shape, facial features, ears, whiskers, or a favorite accessory.
- Pick one clear subject instead of a crowded group photo.
Pick a clear subject
Photos are more difficult than logos because they include lighting, shadows, background clutter, hair, fur, fabric, skin texture, and small details that do not all belong in a physical cutter. A clear subject gives CutterForge a better starting point.
Use a photo where the important features are visible and not hidden by blur, heavy shadows, or a busy background. For pets, fur markings around the face, eye shape, ears, and whiskers help keep the result recognizable. For people, glasses, tattoos, hairstyle, facial features, hats, or other signature details can make the cutter feel personal.
- Crop tightly so the subject fills most of the frame.
- Avoid photos where the subject blends into the background.
- Use sharp pictures with visible eyes, edges, markings, or signature features.
- Skip tiny background details that will not matter on the finished cookie.
Let AI clean it up
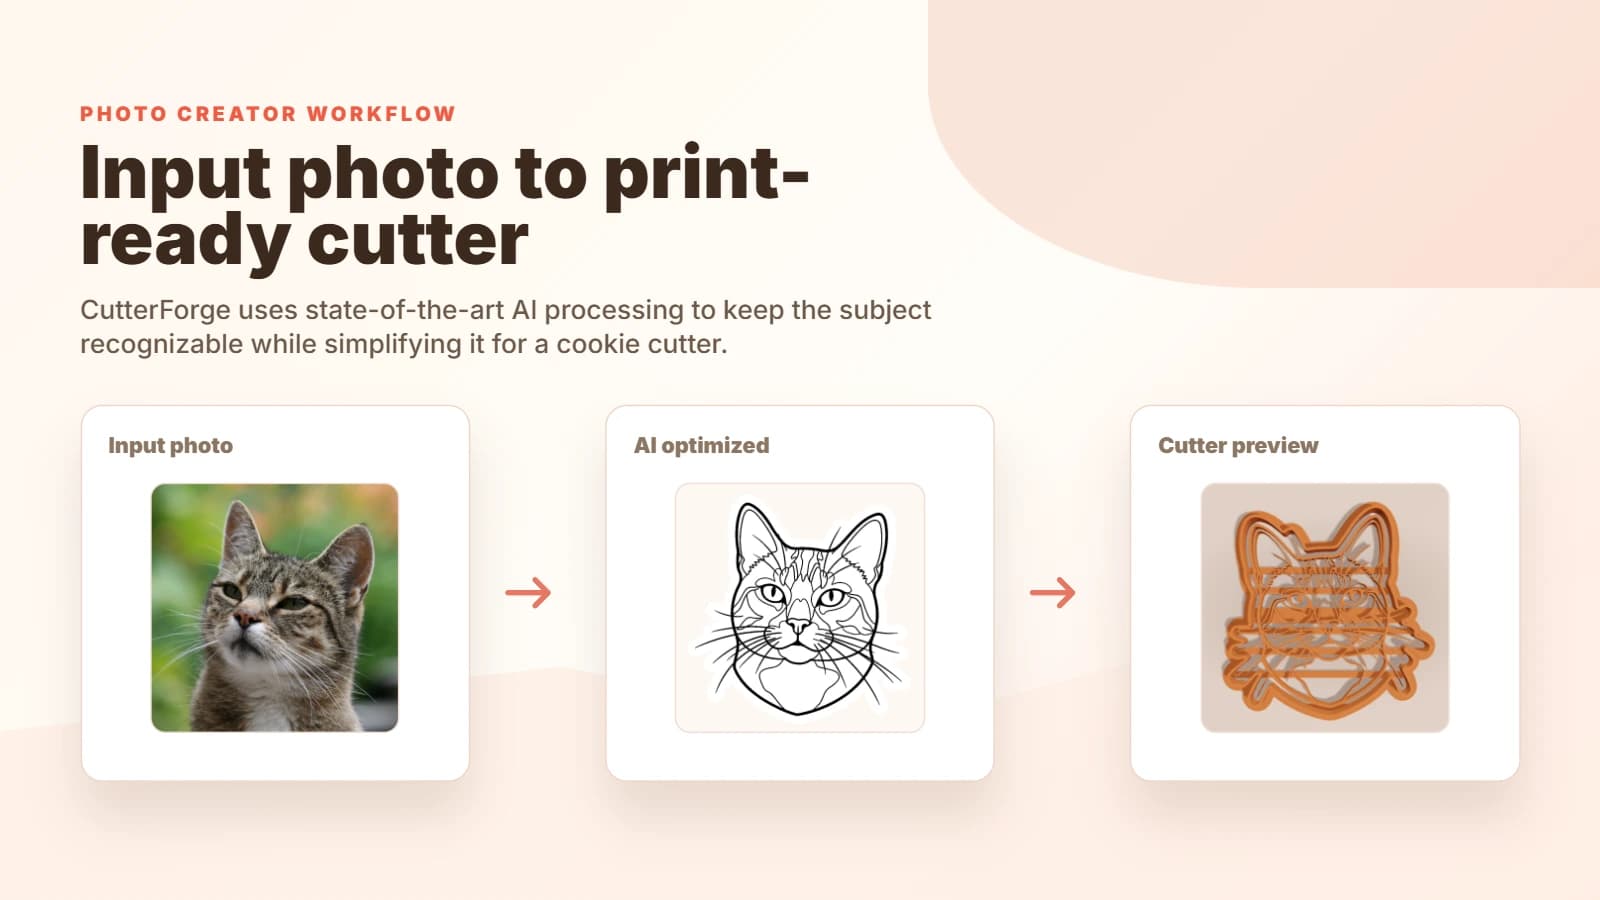
The goal is not to reproduce every pixel from the photo. CutterForge's AI optimize step simplifies the picture, cleans up noise, and keeps the features that make the subject recognizable enough for a cookie cutter.
After optimization, check the CutterForge preview. The design should still feel like the person, pet, or object from the photo, but without fragile texture, background clutter, or tiny marks that would make the STL hard to use. If the preview feels too busy, crop tighter, try a clearer photo, or optimize again before downloading.
- Use AI optimize for fur, hair, low contrast, background clutter, and photo texture.
- Keep the recognizable features, not every small detail from the original image.
- Use the preview to judge whether the cutter is clear at the final cookie size.
- Download the STL only when the simplified design still feels personal.
Ready to build it in CutterForge?
Upload a photo, let CutterForge optimize the subject, preview the cutter, and download the STL.